7 Mountain Biking Skills That Make You Faster
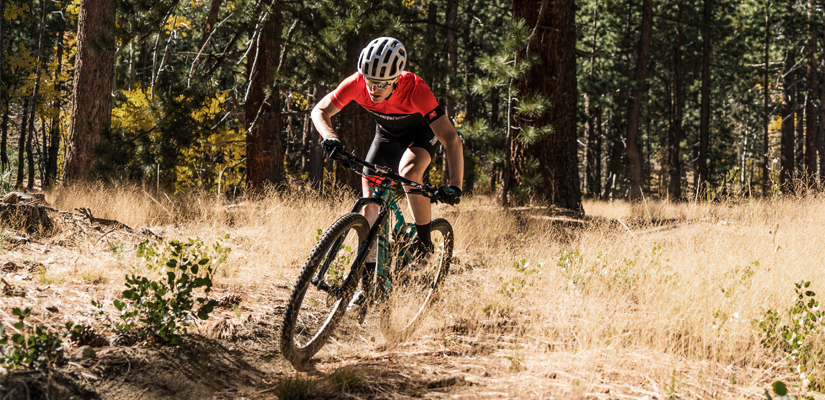
Power, weight, and aerodynamics may be the determining factors in most cycling events, but mountain biking is different. With the right set of skills for handling your bike on the trail, you’ll not only ride faster but make your time more enjoyable. Just like following a proper training plan to build your fitness, you need to follow a proper framework to improve your technique. After working with world-renowned MTB instructor Lee McCormack from Lee Likes Bikes, these are the mountain biking skills we found most effective as we worked on becoming faster mountain bikers.
Mountain Biking Skills Takeaways
- When standing, your knees should be above or behind your bottom bracket, but never in front of it.
- With your knees above your bottom bracket you can adjust your body position by increasing the amount of hinge in your hips, and maintaining a strong, engaged core.
- With your base of support established and your body position adjusted you can respond to obstacles with adjustments to your weight distribution.
- In conjunction with weight distribution you can respond to most obstacles on the trail with a rowing motion, an anti-rowing motion, or a combination of the two.
- You can effectively increase your weight while braking and decrease the distance it takes to come to a complete stop by timing your braking with your body’s movement towards your bike.
- You can corner faster by entering the turn wide and carrying a high line on a berm to maintain speed and timing the Row, Anti-Row pattern with the shape of the turn.
1. Create a Base of Support
First things first, everything we are talking about in this mountain biking technique refers to a rider in a standing position. Standing allows you to separate your body from your bike, giving you control and increasing your speed potential.
In short, if you’re descending, or going through a technical section, you should probably be standing. Just keep in mind that standing doesn’t require you to only stand in a straight up and down position—it’s much more dynamic than that. Let’s dig in.
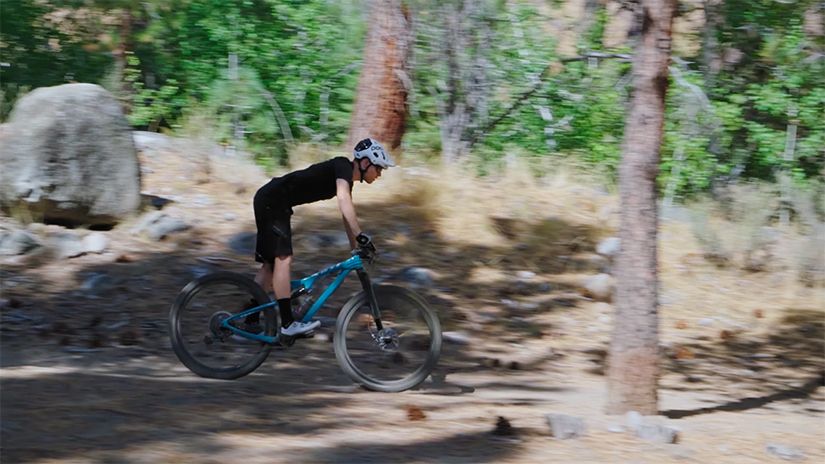
Just as when you are standing on the ground, everything starts at your feet. If your feet and legs are not properly placed underneath your body, you will become unstable—which is why this is one of the most important mountain biking skills.
Although your feet are staggered on a bicycle, the center of your base of support is halfway between your feet at the bottom bracket. When standing on your bike, you want your knees to be above or behind your bottom bracket, but never in front of it. When your knees go in front of that point, your weight easily shifts forward, and a simple bump in the trail can throw you over the bars.
Adaptive Training
Get the right workout, every time with training that adapts to you.
Check Out TrainerRoadWhen people stand up on a bike, they usually put the majority of their weight through their arms. This makes the bike twitchy and unstable. You’ll know you are centered over the base of support when you feel your weight shift back through your legs instead of going through your hands.
2. Hinge Your Hips
Put your body in the right position above your base of support by increasing the amount of hinge in your hips, and maintaining a strong, engaged core. This can be tricky to do while remembering to stop your knees from going in front of the bottom bracket, but you’ll get the hang of it. In strength training terms, think less squat and more deadlift.
When standing on a bike in non-technical terrain, you’ll see riders in this position with nearly no bend in their knees. This relaxed position allows you to relax your quads and recover, while still maintaining greater control than sitting down on the bike.
This position changes as you enter technical terrain on a mountain bike. The hinge in your hips is increased and your knees bend without going in front of the bottom bracket, allowing you to drop your weight low.
3. Distribute Your Weight
Once you are in the properly hinged position over your base of support, you are ready to deal with obstacles on the trail.
Your body instinctually wants to lean back and away from perceived danger. You can’t be blamed for thinking this will stop you from crashing, but you’d be wrong. This usually results in you leaving that hinged position you’ve worked so hard for. Worse yet, when you let instinct take over, your torso and center of mass follow your head and shoulders, making you progressively more unstable.
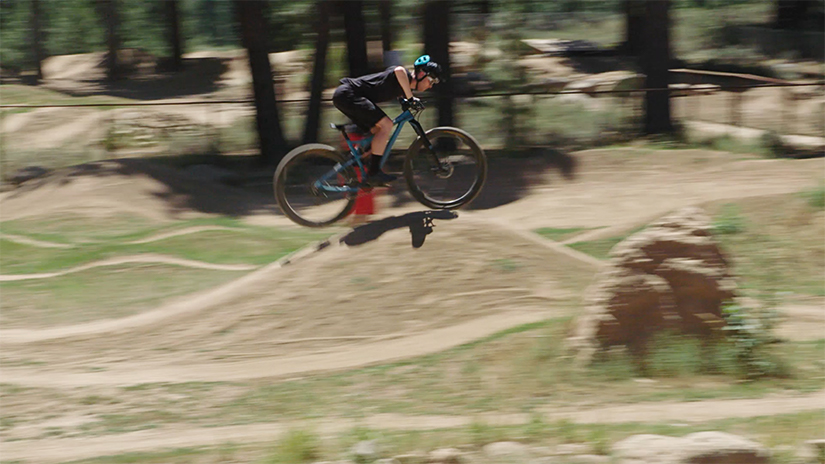
Ironically, what would help you get through that terrain is one of the hardest mountain biking skills to develop—staying steadfast in your hinged position. This will give you a lower center of mass, more stability, and more traction on the front wheel.
Although you won’t literally be leaning into the danger, it can feel like it at first. With time you’ll have repatterned those instincts, and it will pay off with greater stability and the ability to sustain higher speeds.
4. Row & Anti-Row
Whether you are riding over a big rock, a drop, a jump, or even a berm, the same movement pattern is employed. Some people simply call it “pumping”, but Lee calls these the Row and Anti-Row. There is a distinct difference between these mountain biking skills and pumping.
Most people view pumping as a push and pull, or up and down movement, but Row and Anti-Row are more dynamic and powerful. They work together in repeated succession, and if viewed from the side, your handlebars make a consistent, smooth circular motion rather than a simple fore and aft or up and down motion.
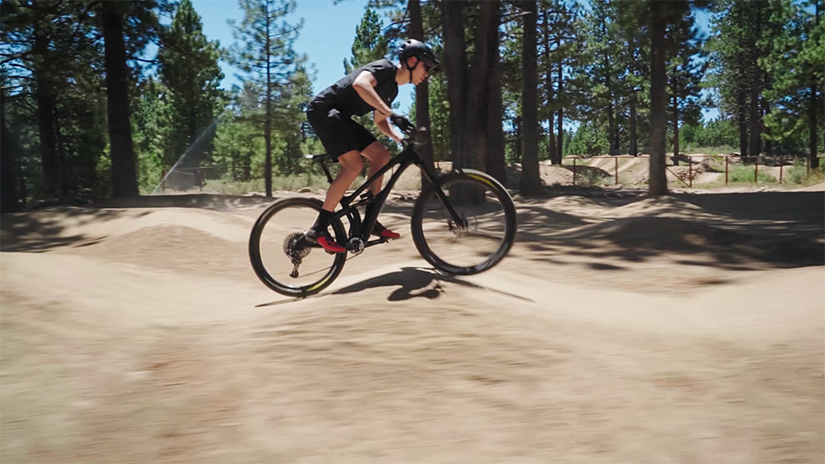
Just like a rower on a crew team, the Row movement starts with your hips where you have the most power. From there, your arms continue to pull the bars up and back, effectively leveraging your bike up an obstacle or change in elevation – but your work isn’t done yet.
In nearly every case, you will need to get back down that obstacle or change in elevation. This is where the Anti-Row comes in and helps you push your bike down the backside of the obstacle, maintaining speed and control.
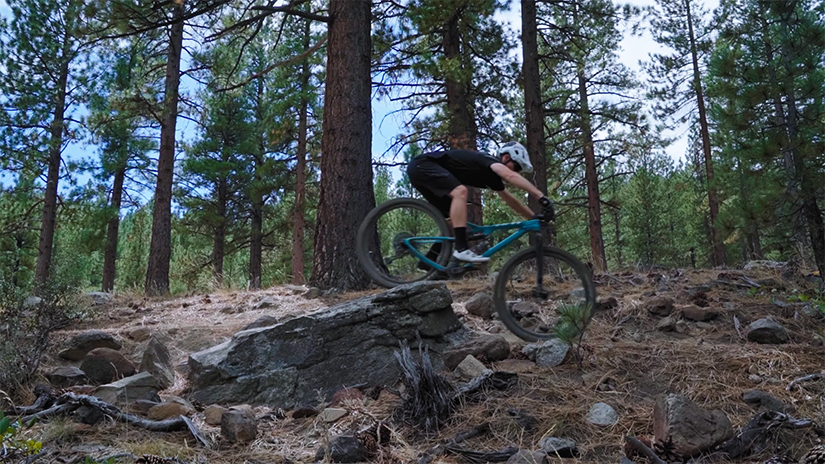
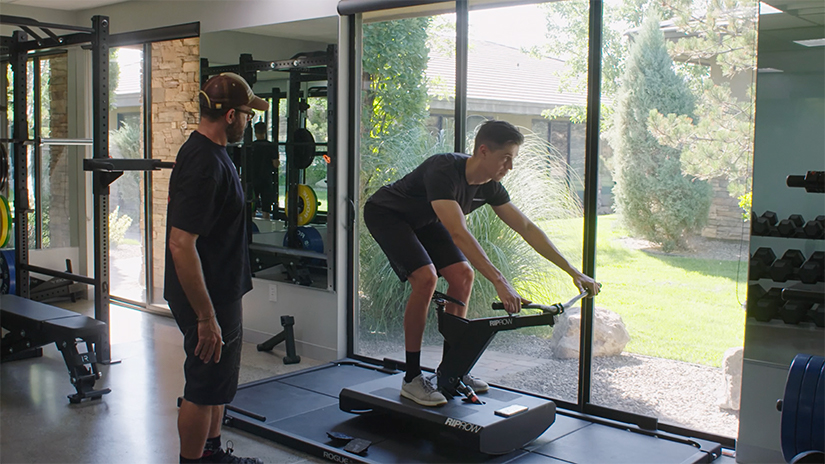
It’s easiest to dial in these movement patterns on a purpose-built machine like Lee’s RipRow™, or within the controlled circumstances of a pump track. Both are great for developing your mountain biking skills. When you start timing things properly, you are rewarded with speed, regardless of whether you are on a smooth pump track, or rowing your way through a rock garden.
5. Weight for Braking
A less expected benefit of mastering the mountain biking techniques of Rowing and Anti-Rowing is the ability to improve your braking. The power of your brakes is only as good as your traction. While a more knobby tire may help you get more traction, the biggest aid to traction is increased weight.
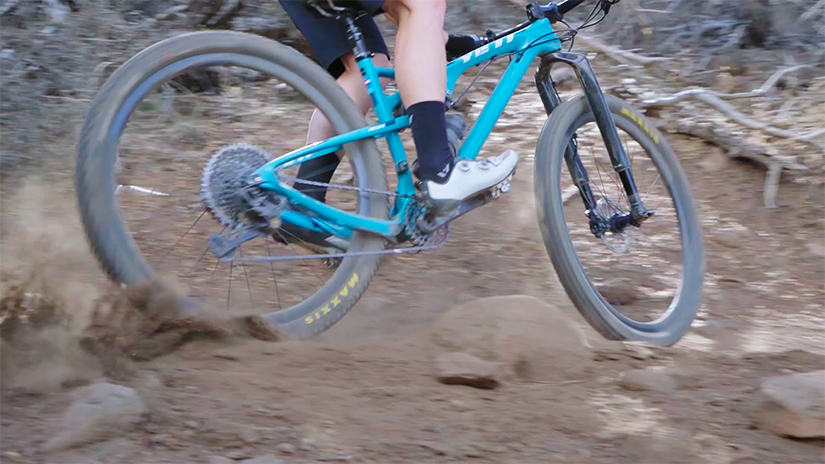
As you Row and Anti-Row over obstacles, your bike follows a pattern of weighting and unweighting. If you can time your braking to coincide with the times when your body is coming down toward the bike, you can effectively increase your weight while braking and decrease the distance it takes to come to a complete stop.
This has a powerful effect on your control and composure coming down a trail. You no longer feel like turns are coming up too fast, your ability to pick lines will increase, and your overall speed will be higher since you will be braking over shorter distances.
6. Maintain Speed While Cornering
While we typically think of rock gardens, jumps, and drops as obstacles that require profession-level mountain biking skills, the Row and Anti-Row movement patterns work well in turns as well. If you’ve ever watched a good rider ride a pump track, you’ll notice them gaining speed through turns rather than scrubbing speed off. Part of this comes down to entering the turn wide and carrying a high line on a berm to maintain speed, and the other part comes down to timing the Row, Anti-Row pattern with the shape of the turn.
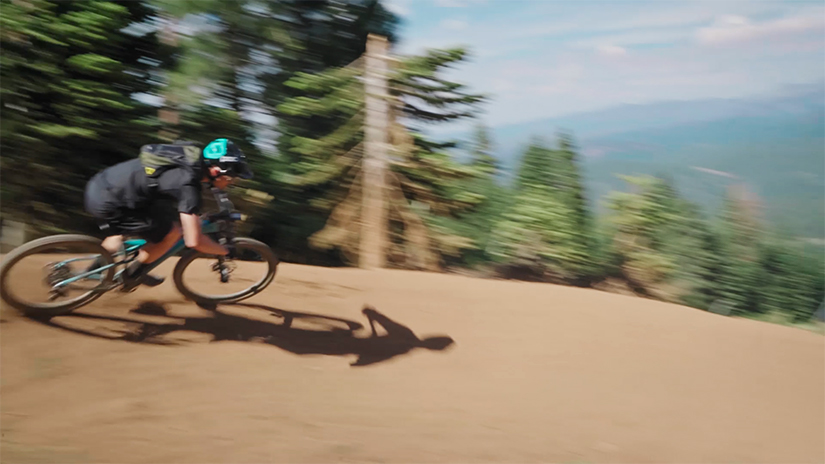
As you enter the turn, you will want to Anti-Row into the turn, allowing you to Row at the apex and Anti-Row on your way out, providing maximizing traction when it matters most and utilizing the curvature of the berm to increase momentum.
7. Pick the Right Line
Selecting the best lines through technical sections of the trail is a mountain biking skill that comes with practice and experience. When you’re choosing a line, ask yourself, “What is the fastest way?” When you see that line, look where you want to go and hold that line. When you’re riding, don’t feel like you need to follow the athlete in front of you. Remember, just because it’s a familiar or a popular line, doesn’t mean it’s the fastest.
A key to carrying enough speed into a section is to downshift to a harder gear and give it one or two hard pedal strokes before you enter the technical zone. It is better to be in too hard a gear than an easier one. The lower cadence can also help you ratchet the drive-train to avoid clipping a pedal on a rock. Ratcheting is when you press the pedals, from the 1 to 4 o’clock position, then backpedal to do it again.
It all Adds Up
There are plenty of things you can do to improve your mountain biking skills, but these principles apply no matter what conditions you find yourself in. If you want to be a faster mountain biker, establish a proper base of support, maintain a deep hinge to keep your chest low and stay stable, and endlessly refine the smooth connection between the Row and Anti-Row movements to maintain momentum. All these skills add up and can make you a faster and more capable mountain biker.
Mountain biking isn’t just demanding on your skills — fitness and strength are constantly challenged too. Mountain biking requires a robust aerobic engine and specialized fitness. If you want to take your bike handling to the next level consider using Plan Builder to build an off-road specific training plan for you and your mountain bike goals.
More on Mountain Biking
Get even more information on bike handling and our clinic with Lee in Episode 127 of the Ask a Cycling Coach Podcast.
For more cycling training knowledge, listen to the Ask a Cycling Coach — the only podcast dedicated to making you a faster cyclist. New episodes are released weekly.